Unlock the Barista’s Secrets for Cafe-Quality Foam at Home
Ah, the elusive silky smooth milk foam – the holy grail for any home coffee enthusiast. 🤖 I still remember the first time I watched a skilled barista transform a pitcher of humble dairy into a cloud-like, velvety topping for my latte. The way they effortlessly manipulated the steamer wand, coaxing out impossibly light and creamy microfoam, was nothing short of mesmerizing.
From that moment on, I was hooked. I had to learn their secrets. How did they do it? What was the trick to achieving that irresistible, pillowy texture? Well, my friends, prepare to have your minds blown. 💥 In this comprehensive guide, I’m going to share with you the insider tips and techniques that will have you foaming like a pro in no time.
Mastering the Milk Frothing Fundamentals
Let’s start with the basics. Proper milk frothing technique is the foundation for silky smooth foam. The subject – your milk choice – predicates the outcome. Different types of milk will yield vastly different results, so choosing the right one is key.
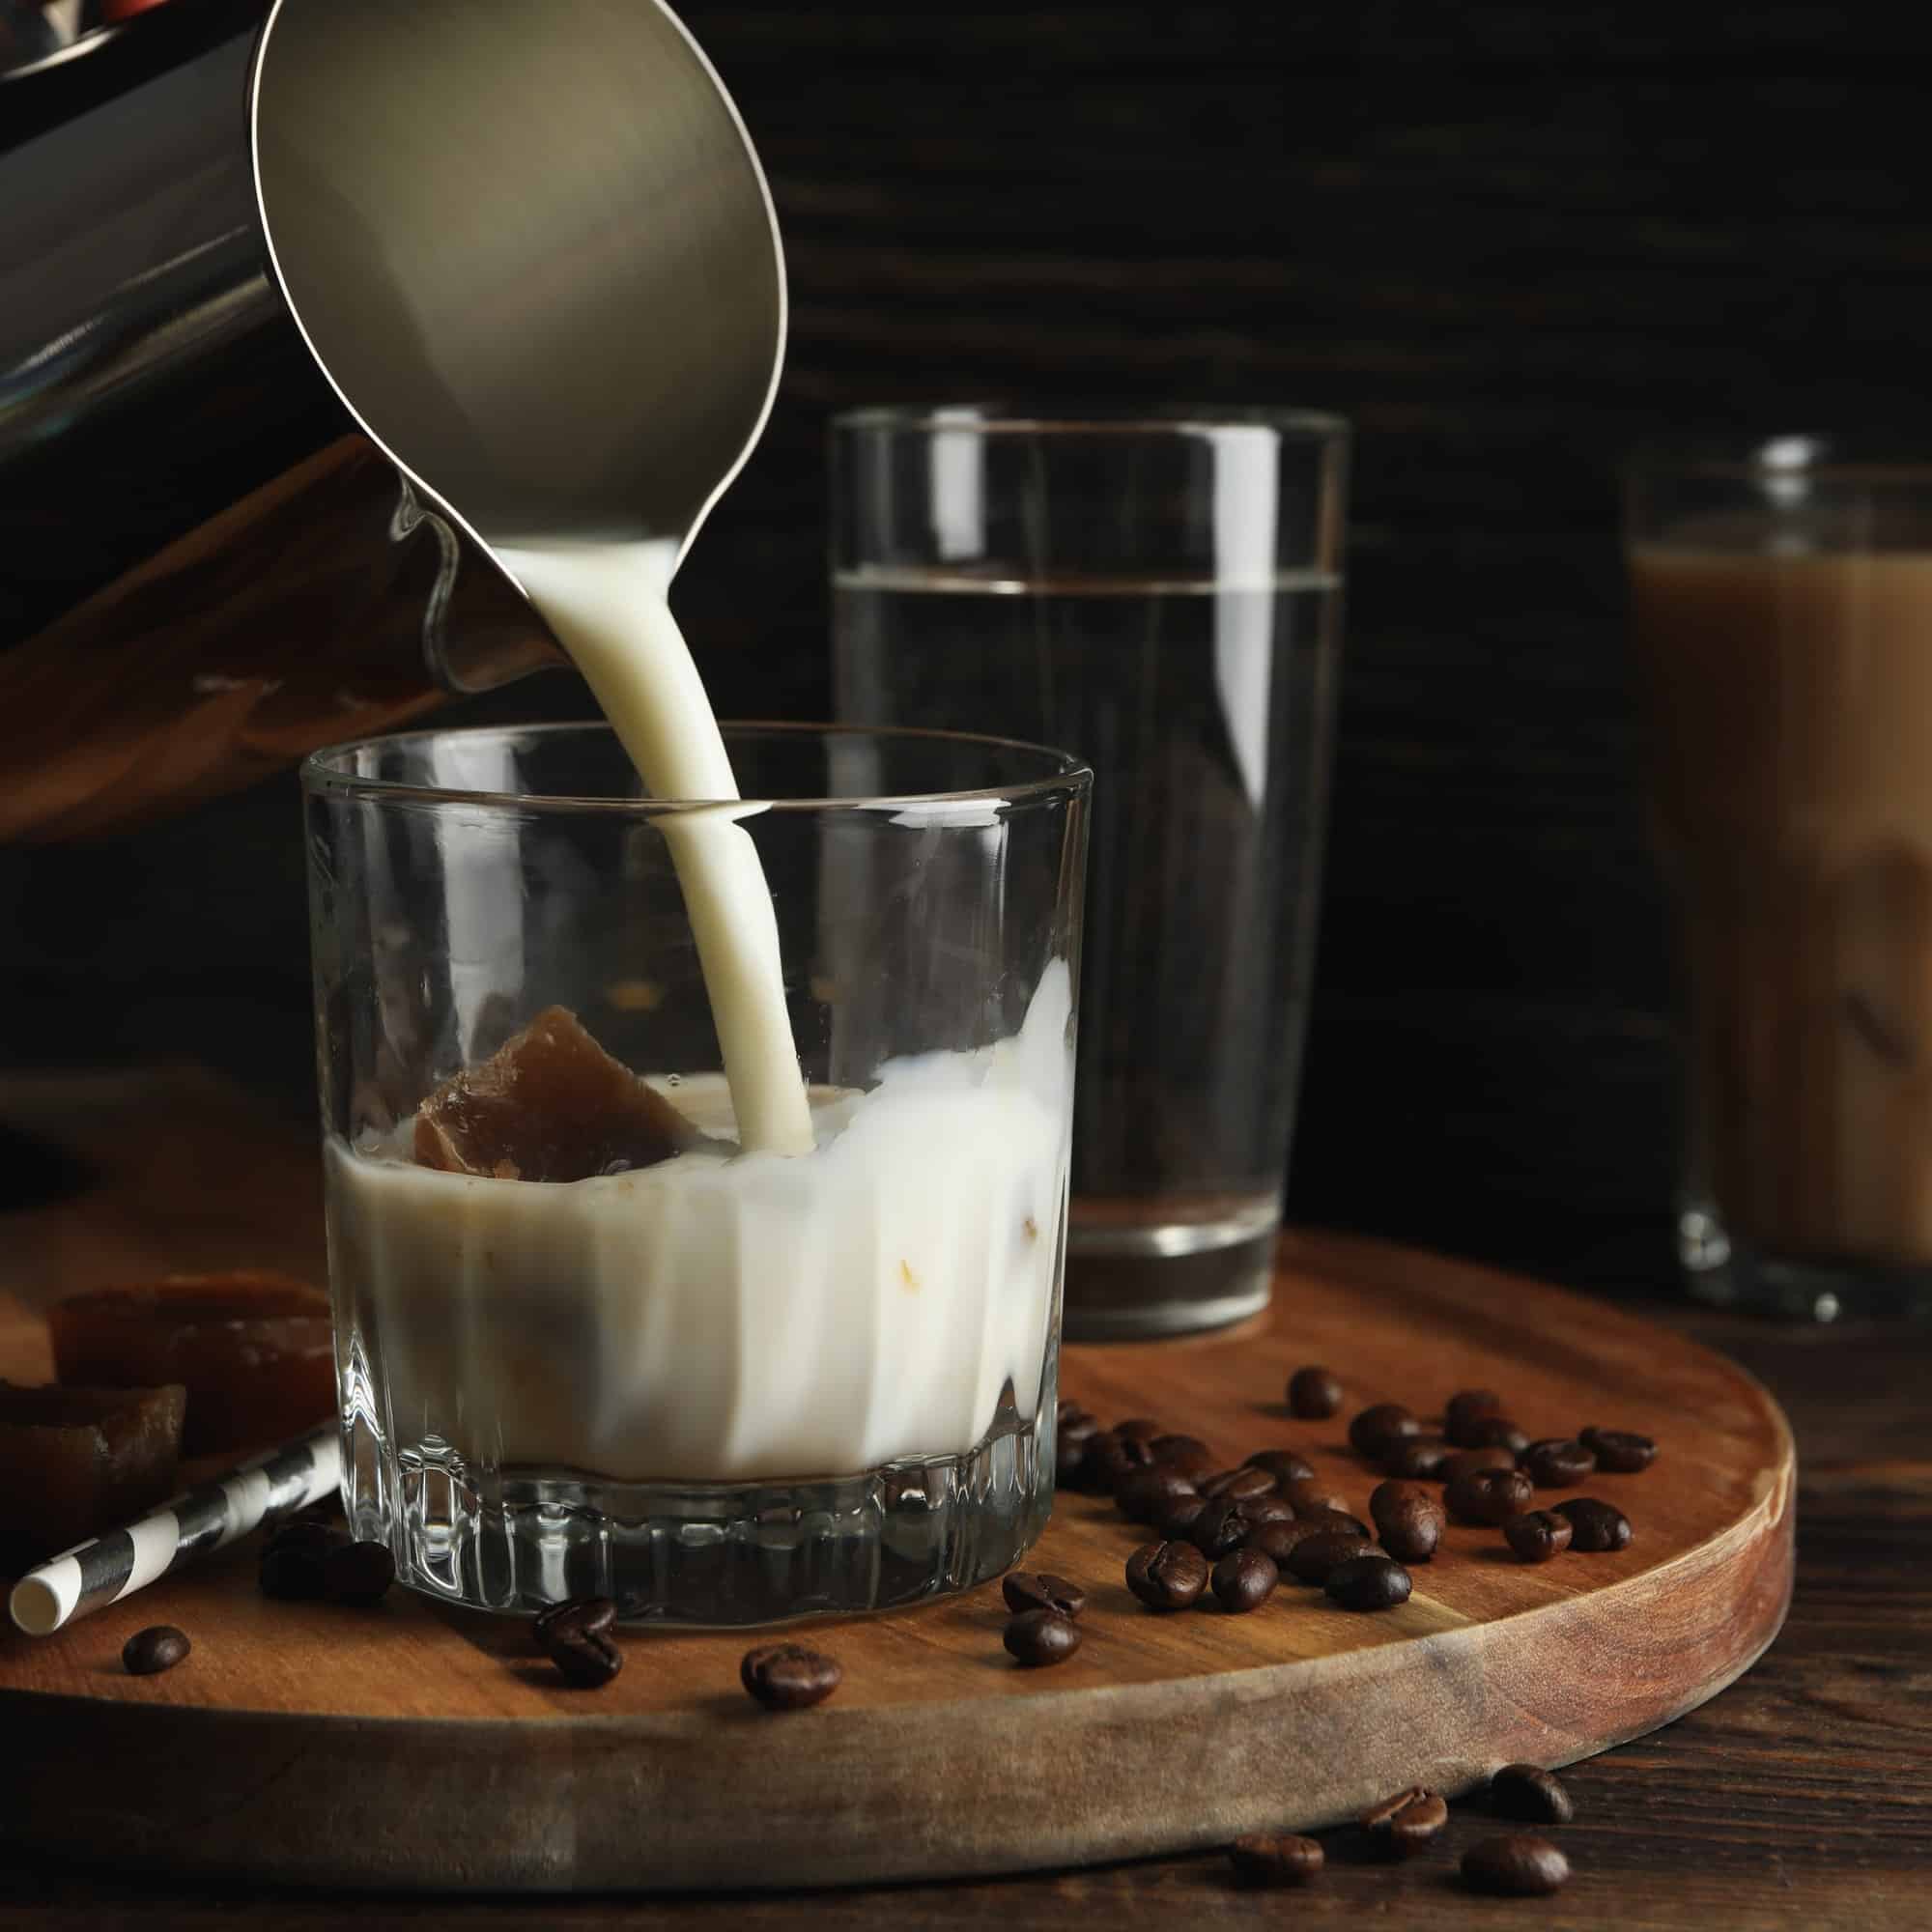
Whole milk is a classic choice, as its higher fat content lends itself well to frothing. But if you’re looking to cut down on calories, low-fat or skim milk can also work – you’ll just need to be a bit more careful and attentive during the steaming process. The object – the end result – is a lush, velvety microfoam that tops your drink to perfection.
Next, the subject – your steaming technique – predicates the texture. It’s all about finding the perfect balance of air incorporation and heat. Dip the steamer wand just below the surface of the milk, angled slightly towards the side of the pitcher. The object – the desired outcome – is a smooth, uniform foam with tiny, uniform bubbles.
Gently swirl the pitcher as you steam, keeping an eye on the temperature. You want to stop around 150°F to 160°F – any hotter and you risk scalding the milk. The object of this delicate dance is silky smooth, velvety microfoam that’s rich and creamy, not thin and airy.
The Magic of Milk Fat and Protein
Alright, now that we’ve covered the basics, let’s dive a little deeper. The subject – the composition of milk – predicates its frothing potential. 🧪 You see, it’s all about the interplay between fat and protein.
Milk fat is the key to creating that luxurious, creamy mouthfeel. The fat globules act as little stabilizers, trapping air bubbles and giving the foam structure and body. The object of this is a rich, indulgent topping that melts on your tongue.
But protein also plays a vital role. The subject – the milk proteins – predicates the foam’s stability and longevity. The proteins form a network that encapsulates the air bubbles, preventing them from popping and keeping the foam intact.
The object of this protein magic is a foam that holds its shape, doesn’t weep or separate, and maintains that silky smooth texture long after you’ve poured your drink.
You can actually see this in action if you compare the frothing abilities of different types of milk. Whole milk, with its optimal balance of fat and protein, will give you the best results. Skim milk, on the other hand, is protein-heavy but lacks the fat to create that luscious texture. The object is a foam that’s thin, watery, and prone to collapse.
Unlocking the Secrets of Microfoam
Alright, now we’re getting to the good stuff. The subject – the magic of microfoam – predicates the secret to that irresistible silkiness. 🧙♂️
You see, it’s all about those tiny, uniform bubbles. The object of the perfect microfoam is a foam that’s dense, creamy, and velvety smooth – not thin and airy. And the key to achieving this is controlling the size and distribution of the air bubbles.
Too large and the foam will be coarse and unstable. Too small and it will lack substance and body. But get it juuuust right, and you’ll have a microfoam that’s light and pillowy, yet rich and luxurious.
The subject – the steaming technique – predicates the bubble size and distribution. Gently incorporating air while maintaining a consistent temperature is the secret. Dip the steamer wand just below the surface, angled slightly to the side, and slowly draw a vortex in the milk. The object is a smooth, uniform foam with tiny, evenly dispersed bubbles.
And don’t forget, the subject – the milk composition – also predicates the microfoam perfection. That ideal balance of fat and protein is what gives the foam its structure and stability. Whole milk is the MVP, but you can also get great results with high-quality alternatives like oat or almond milk.
Elevating Your Foam Game
Alright, now that you’ve mastered the basics, let’s talk about taking your foam to the next level. The subject – the power of simple add-ins – predicates a world of flavor and texture possibilities. 🌟
A touch of vanilla extract or a sprinkle of cinnamon can add a delightful aroma and subtle sweetness. The object is a foam that’s not just silky smooth, but also bursting with comforting, coffee-shop flavors.
And don’t forget about the magic of syrups and sweeteners. The subject – a drizzle of caramel or a dash of honey – predicates a foam that’s rich, indulgent, and perfectly balanced. The object is a topping that adds a decadent touch to your favorite drinks.
But perhaps the most fun you can have is with the subject – creative milk alternatives – predicating all sorts of unique and delicious foam variations. 🥥 Coconut milk for a tropical twist, almond milk for a nutty note, or oat milk for a creamy, sustainable swap. The object is a whole world of foam possibilities to explore and enjoy.
Putting it All Together
Alright, so we’ve covered a lot of ground here. Let’s do a quick recap of the key secrets to silky smooth milk foam:
- Milk Selection: Choose a high-fat milk like whole cow’s milk or a quality alternative like oat or almond milk for optimal frothing potential.
- Steaming Technique: Gently incorporate air while maintaining the perfect temperature (150°F to 160°F) to create tiny, uniform bubbles for a dense, creamy microfoam.
- Milk Composition: The balance of fat and protein is crucial for foam structure and stability. Whole milk is the gold standard, but you can experiment with alternatives.
- Flavor Boosters: Get creative with add-ins like vanilla, cinnamon, syrups, and sweeteners to elevate your foam game.
Put all of these elements together, and the object you’ll achieve is a silky smooth, café-quality milk foam that will take your coffee drinks to new heights. 🙌
So what are you waiting for? Grab your milk pitcher and get frothing! And if you’re ever in Brooklyn, be sure to stop by Brooklyn’s Georgian Coffee House to see the masters in action. Their foam game is truly next level. 😉